We may earn revenue from the products available on this page and participate in affiliate programs.
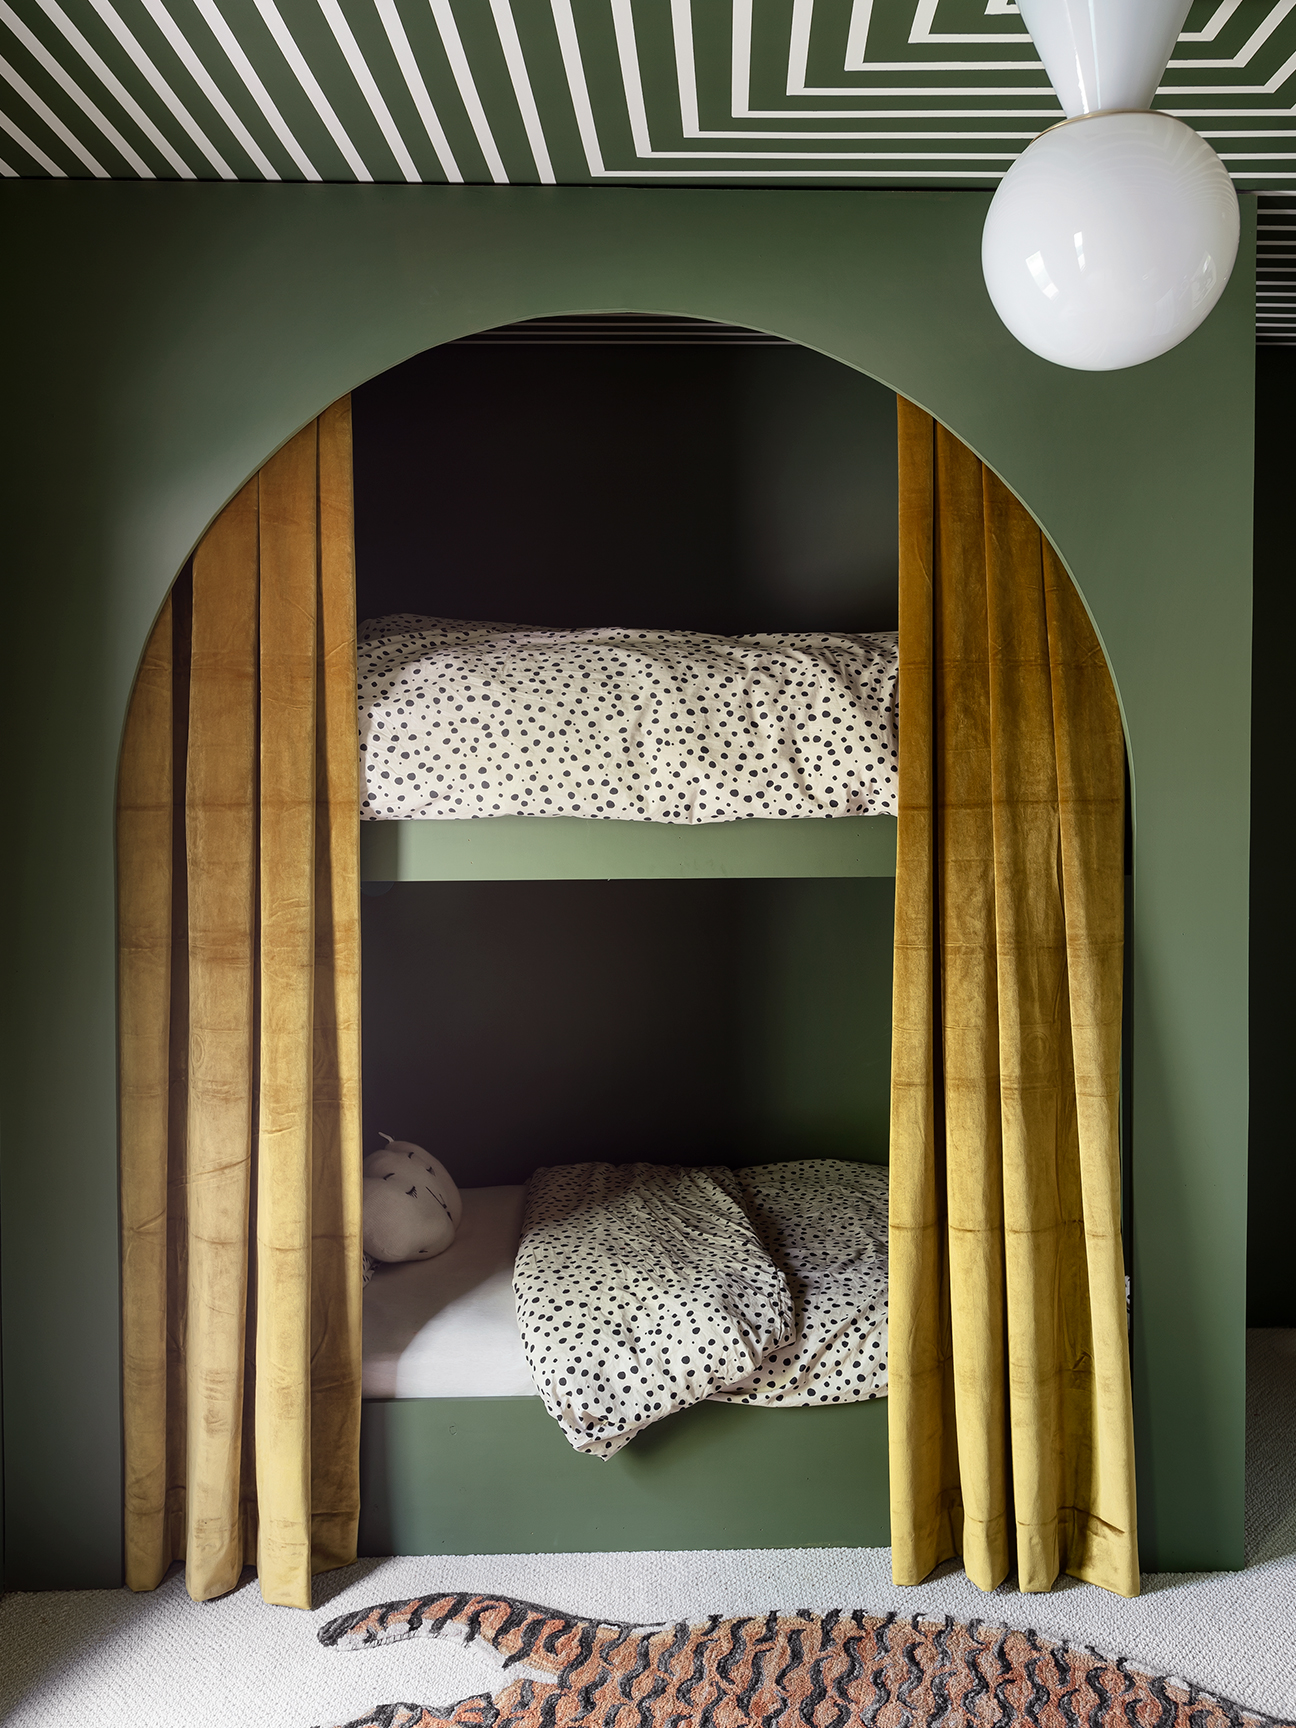
Not a lot of second-guessing is involved in Sarah Sherman Samuel’s design process, especially when her own house is involved. Our Winter Issue cover star’s home in Grand Rapids, Michigan, is filled with shades of ochre and arched doorways and surrounded with trees—so decorating her son’s room in similar shapes and colors was a no-brainer. “It’s roughly inspired by a circus tent,” says the designer, who freehanded the painted stripes on the ceiling before building bunk beds with a dramatic opening (arched, of course) and adding amber-hued curtains that match the living room sofa.
Her son, Archie, 4, likes the color green, so she picked a few swatches, painted squares on the walls, and let him make the final choice. He chose the moody Oakmoss by Sherwin-Williams. The rest of the room came together in no time. Samuel sourced a golden velvet fabric on Amazon for the drapes and built the bunk beds with the help of her husband in just one weekend.

The Supplies
- 14-by-8-feet 2×4 planks
- 3-by-8-feet 1×12 planks
- 3 sheets of 3/4-inch MDF
- 2 sheets of 1/4-inch plywood
- 3.5-inch construction screws
- 1-inch steel pipe
- Jigsaw
- Nail gun
- Drill
- Paint

Step 1: Create Your Shape
Lay down two sheets of plywood and insert a nail at the center point. Measure a piece of string to be half the distance of the width of the arched opening. Tie a pencil to one end of the string, then tie the other end to the nail to create a compass. Pull the string tight as you draw a half-circle.
Step 2: Cut It Out
Using a jigsaw, follow the pencil line to cut out the arch. Sand down any rough edges.

Step 3: Build the Frame
Create a rectangular base for the bed using 2x4s; it should be only slightly larger than your mattress size. Attach the boards with 3.5-inch construction screws.
Step 4: Create a Base
Cut additional 2x4s to fit inside the box, laying one every 12 inches or so and securing them to the frame with screws to make a platform for the mattress. Top this with 1/4 inch of plywood for extra mattress support.

Step 5: Onward and Upward
Using more 2x4s, vertically this time, frame out the parameter of the bunks, nailing one 2×4 in each corner.
Step 6: Replicate the Top Bunk
“Wrap” the 1x12s around the 2×4 bases (securing with screws) to create a box that the mattress will sit into. Build a duplicate mattress base on the top level with 2x4s and 1x12s and secure to the wall and the 2×4 vertical posts with 3.5-inch construction screws.

Step 7: Finish Off Your Masterpiece
Attach the arches to the front of the frame with the nail gun. Prime and paint the structure in your chosen hue.
Step 8: Add the Curtains
Drill 1-inch holes into the top 2×4 frame at either end for a 1-inch steel pipe to slide into (or simply use a shower-curtain rod or curtain rod).
Cue story time in the top bunk.
Discover more Sarah Sherman Samuel decor magic: Sarah Sherman Samuel’s Epic Fixer-Upper Is the Stuff of Reno Dreams Sarah Sherman Samuel’s Breezy New Porch Has the Coolest Floors Sarah Sherman Samuel Just Redid Her Backyard—And It’s Full of CB2 Finds
