We may earn revenue from the products available on this page and participate in affiliate programs.
Come spring, who isn’t craving major color? With our latest issue on newsstands, we’re celebrating all things bright and bold with Color Month on Domino. Check back daily and sign up for our newsletter to see vibrant spaces, palettes that pop, and our series Stroke of Genius, a step-by-step breakdown of weekend paint projects even total rookies can manage. Let’s get chromatic.
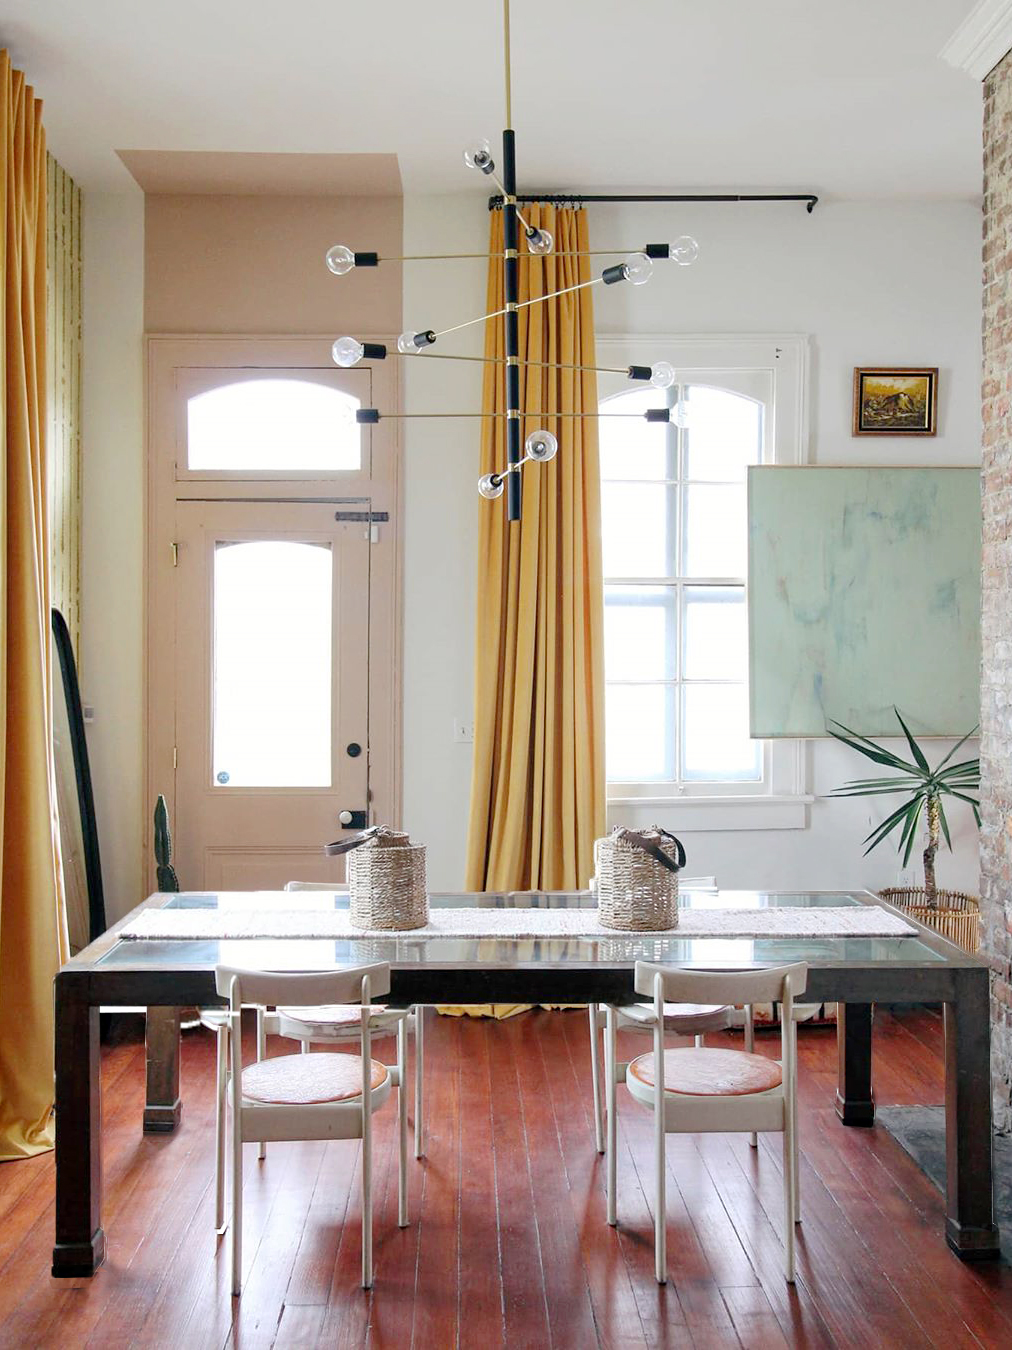
Murals are having a moment, but not everyone is comfortable going freehand. Statement trim is a great way to tiptoe into paint—but what about the color devotee who wants more? There is a happy medium: outlining your door in a geometric shape.
The idea comes courtesy of designer and DIY pro (remember this color-blocked floor?) Liz Kamarul. “I love pink, but our whole living room was already a different shade and I didn’t want to go overboard, so I opted for an accent hue,” explains Kamarul. Besides being innovative, the treatment also involves some visual trickery—the lines draw your eye up, making the ceiling seem taller.
Try a small white half-moon over the top of an equally stark door to add contrast to a painted wall. Or if you don’t know what to do with the arch opening between two rooms, Kamarul suggests an Art Deco design, coated in the same hue as the adjacent hallway. “It almost blends into the next space and looks like a cutout,” she says. However, beginners might want to stick to this clean rectangular design—all in all, it took Kamarul only a couple of hours. Here’s how she did it.
The Supplies
- Paintbrush
- Paint (two sample pots will suffice; Kamarul used Farrow & Ball’s Setting Plaster)
- Ladder
- Masking tape (if you don’t want to cut in the lines freehand)
- Straightedge ruler
- Pencil
Step 1: Sketch the Outline
Using your ruler and pencil, draw lines up from the edges of the door frame to the ceiling, continuing that line a foot or two onto the ceiling itself. Then draw a horizontal line to connect the two.
Step 2: Fill in the Blanks
Kamarul recommends working from the top down, starting with the ceiling. Trace the rectangle with your paintbrush, then fill it in. Lastly, paint the door and trim.
Step 3: Repeat
After you’ve waited about an hour, layer on your second coat. (Depending on the paint you choose, you might have to do a third, but start with two and feel it out.) Let it dry and voilà! A mini mural in record time.
See more paint DIYs to try: You Don’t Need to Be an Artist to DIY This Color-Blocked Mural Upgrade Mismatched Planters With This Super-Simple Paint DIY This One-of-a-Kind Striped Credenza Began as a $10 Goodwill Find


