We may earn revenue from the products available on this page and participate in affiliate programs.
Come spring, who isn’t craving major color? With our latest issue on newsstands, we’re celebrating all things bright and bold with Color Month on Domino. Check back daily and sign up for our newsletter to see vibrant spaces, palettes that pop, and our series Stroke of Genius, a step-by-step breakdown of weekend paint projects even total rookies can manage. Let’s get chromatic.
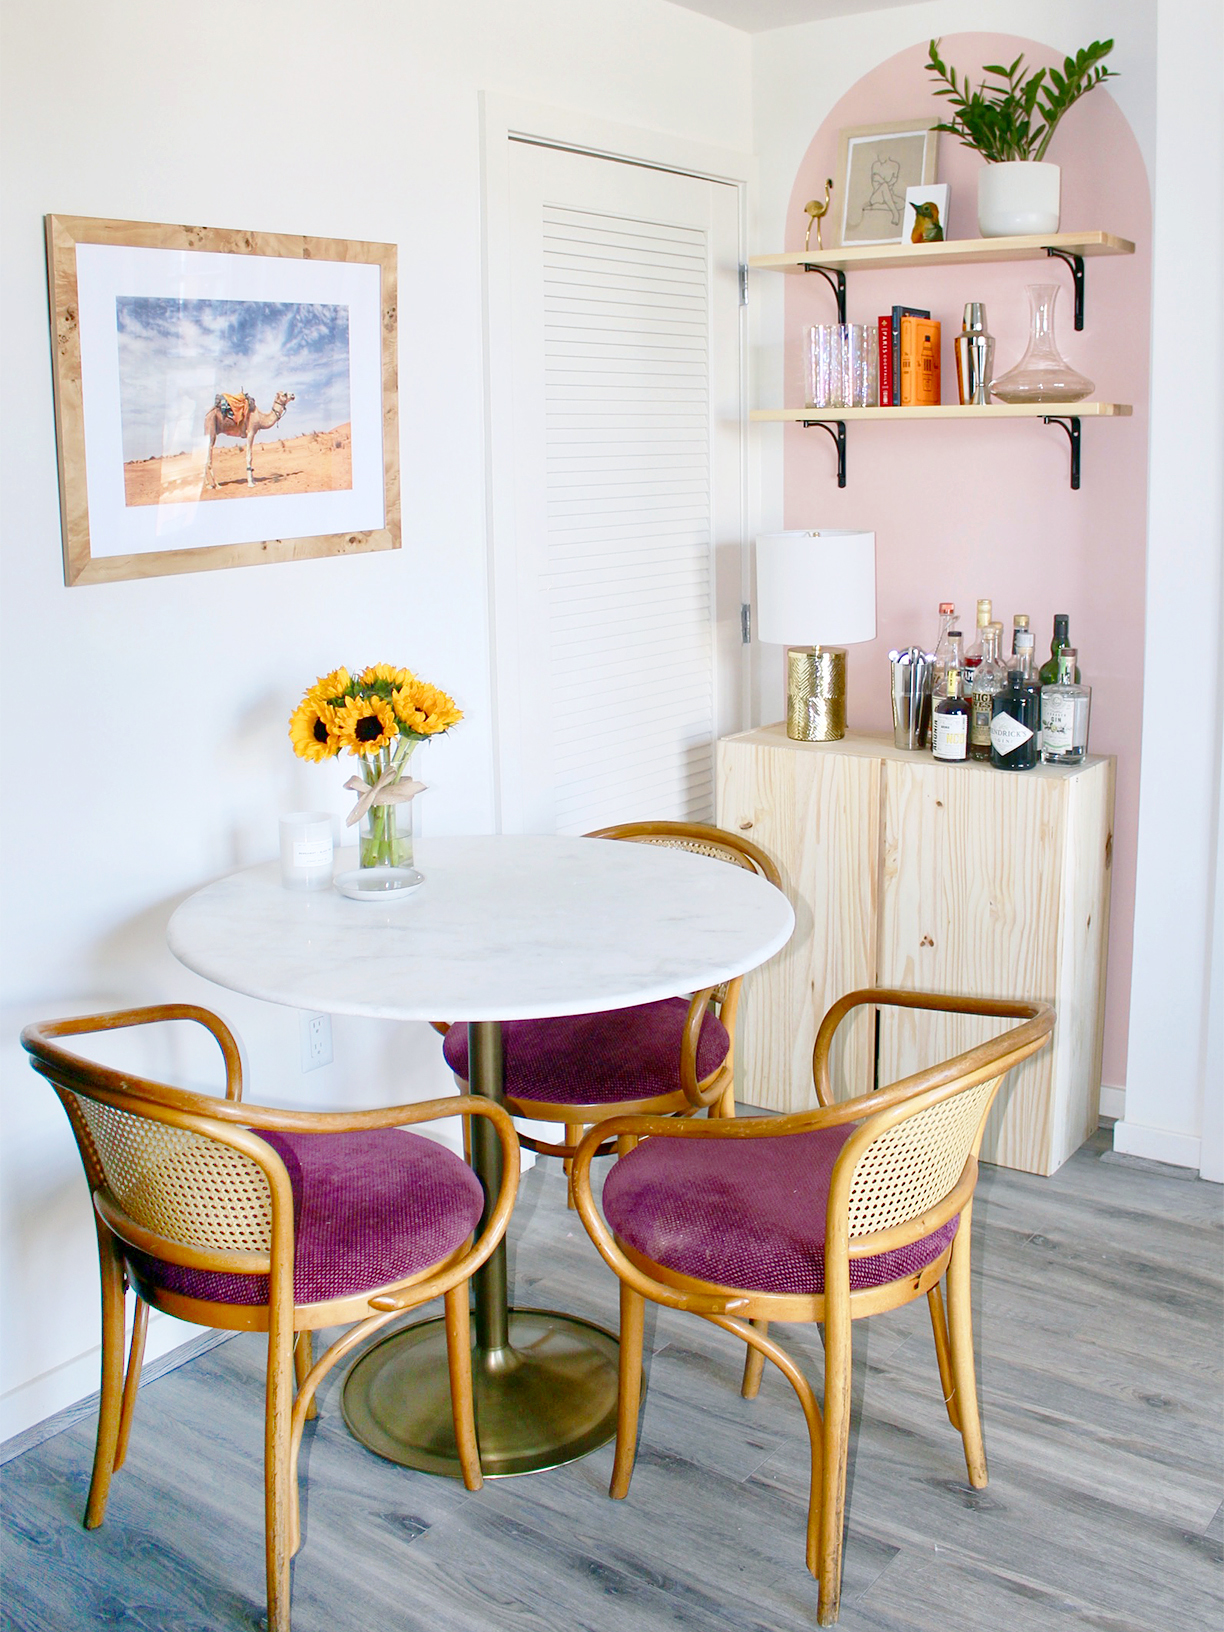
An open floor plan is a blessing and a curse. On one hand, you have a lot of wiggle room with which to create your dream layout—but on the other hand, it’s tricky to create little pockets of designated space that both feel special and flow with the rest of the room. That was Elizabeth Mahon’s problem: The founder of Washington, D.C–based kids’ store Three Littles wanted to carve out an area within her combined living-dining room that could serve as a bar station for when she has friends over. To do this, she turned to paint.
“I’m not a fussy decorator,” says Mahon. “I’ll often walk into a hardware store and just grab a swatch of whatever color I like at the moment—if I mess up, I can always repaint.” With this optimistic mind-set, she dove into her latest project, a mini mural that, all things considered, only set her back about $10 and took just one afternoon to complete.
She picked up a sample pot of paint at Behr for a grand total of $3.50 and got to work. The bubblegum pink plays off the burgundy of the nearby dining chairs, but thanks to the floating shelves Mahon added (and the matching raw wood cabinet underneath), the nook has its own identity. All it took is a clever trick using a couple nails and string—a method we’ve also seen used by DIY pros like Geneva Venderzeil—to perfect the arched design. Here’s how she got it done.
The Supplies
- Rag cloth
- Measuring tape
- Pencil
- String wide enough to push a nail through
- 2 nails
- Painter’s tape
- 2-inch angled brush
- A sample of paint in the color of your choosing (Mahon used Behr’s Sunwashed Brick)
Step 1: Prep the Surface
Wipe down the wall with a damp rag. Measure out exactly how wide you want your arch to be and take note—Mahon’s was about 34 inches, for context. Make two small dots approximately where you want each side of the arch to be, so you can get an idea of width.
Step 2: Create the Arch
Measure your string to be about 2 inches longer than half the width of the arch (Mahon’s was 19 inches long). Push one of the nails through the end of the string, and gently nail into the wall between your dots to make a tiny indentation—you’ll be using the string as a compass, so make sure it has enough room to make a half circle at the top of the arch without going into the ceiling. Mahon nailed hers 17 inches from the side of the arch and 20 inches down from the ceiling.
Next, push the second nail through the other end of the string but not into the wall—the tip will act as a marker. Make sure the nails are exactly half of the width of your arch apart. Use the second nail as a pencil, and make a half circle with it, holding the string tight so the top of the arch is even. (The nail should lightly scratch the wall enough so that you can get an outline; according to Mahon, these markings are easier to cover with paint than pencil ones.)
Step 3: Outline the Sides
Once you have your arch sketched, use painter’s tape to tape from the edge of that half circle straight to the ground on both sides. Remove the nails and string.
Step 4: Fill It In
Using an angled brush, paint carefully along the line you created with the nail to define the arch. Slowly fill in the rest of the shape. Wait until the paint is completely dry to apply a second coat if necessary—though Mahon only needed one because her corner doesn’t get a lot of sunlight. Once it’s dry, remove the tape. If you want to take it a step further, hang some funky art or even a few shelves; the fun is in personalizing the mini mural, after all.
See more easy paint DIYs: Paint Your Bookshelf This Weekend—But Do It Selectively This Blink-and-You’ll-Miss-It Paint Trick Is Eyeliner for Your Walls Fake High Ceilings With This Easy Paint Trick


