We may earn revenue from the products available on this page and participate in affiliate programs.
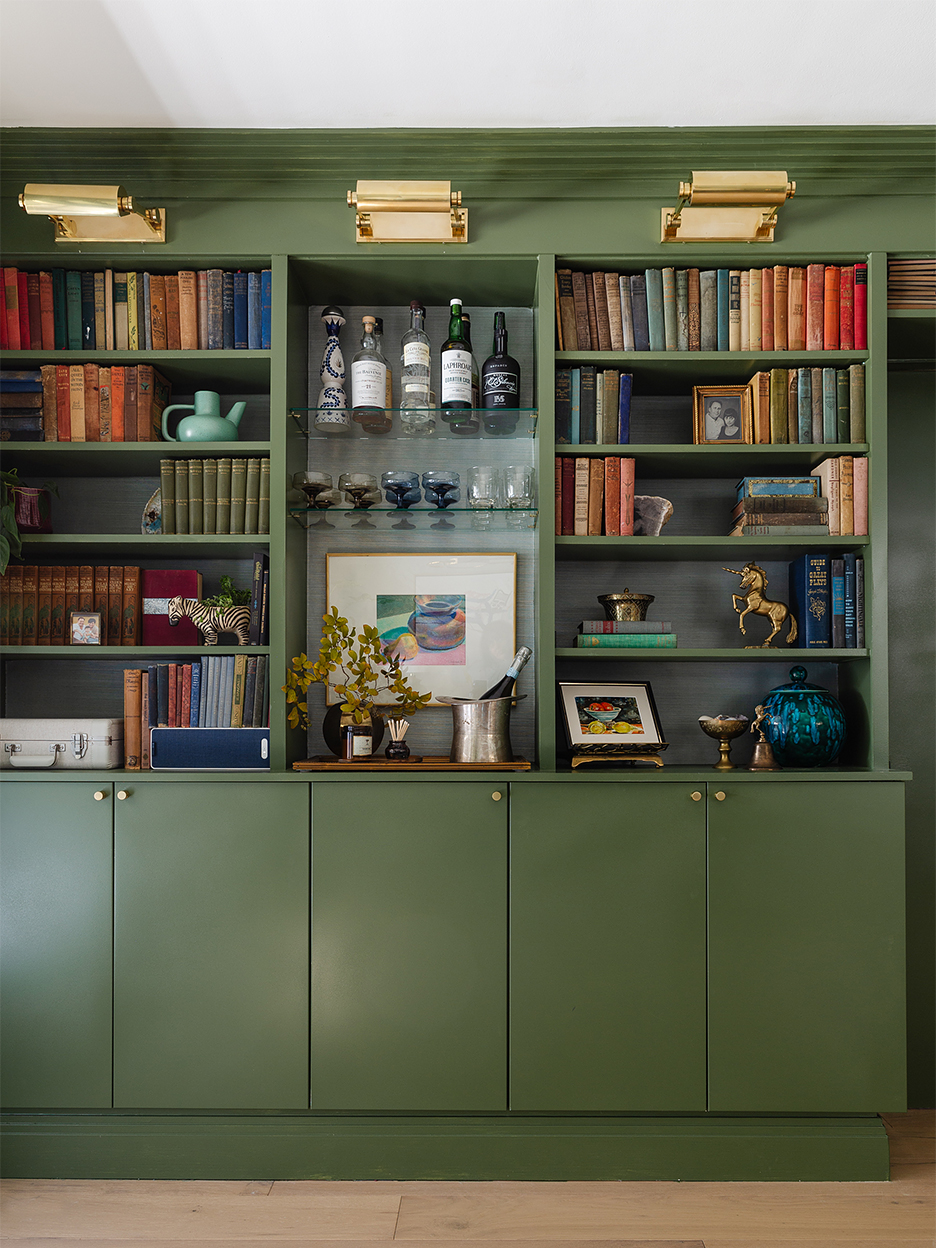
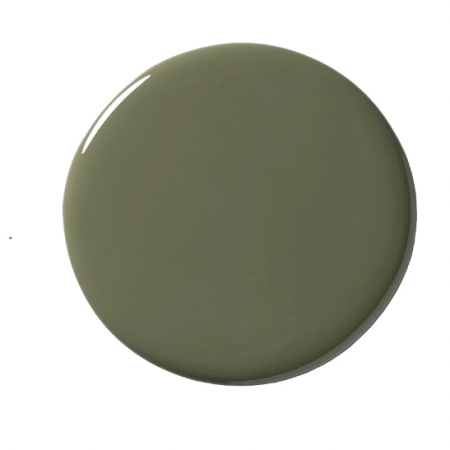
Paint is easily the most popular tool people use to hack their IKEA furniture, but that doesn’t mean painting is easy. The process requires more than just a drop cloth and bristle brush. For the job to look truly professional, you’ll have to take after designer Rebecca Plumb, who added a whole wall of storage to her dining room using the Swedish retailer’s popular Billy bookcase and Sektion cabinets, now painted in Oakmoss by Sherwin-Williams. “I wanted it to be this little jewel box,” says Plumb.
The thing that makes painting IKEA furniture tough is the stuff’s seemingly impenetrable laminate finish. The key, as Plumb figured out, is sanding, painting, and drying on repeat (in her case, four times to be exact). “And then it took about another week for it to completely cure,” she explains. So budget your time accordingly and then read her tips for how to paint the Billy bookcase and Sektion cabinets, below.
Don’t: Buy High-Gloss Doors

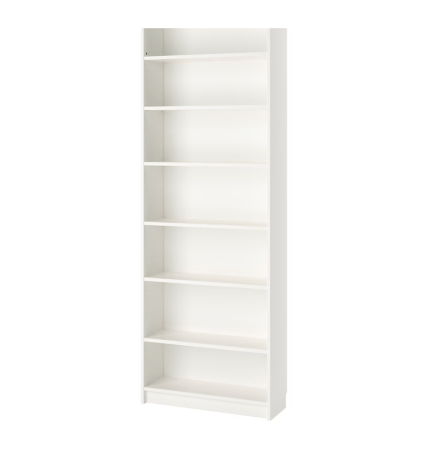
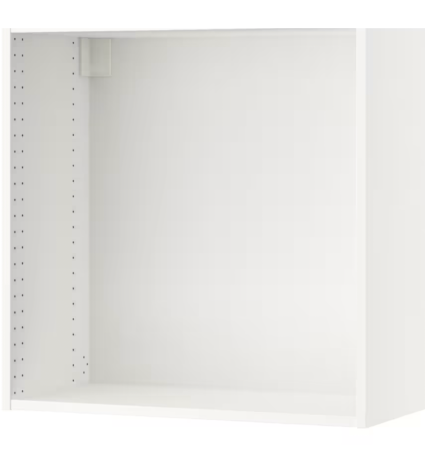
To start out, avoid picking any IKEA pieces that only come in a high-gloss treatment, as it naturally makes the surface hard to fuse with paint. For the lower part of the library-slash-barware storage wall, Plumb opted for two shallow Sektion upper kitchen cabinets with the Veddinge door style because it is the most paint-friendly front. The upper portion is made up of a tall Billy bookcase flipped upside down.
Do: Leave More Time Than You Think You Need Between Coats

Per her painter’s recommendation, Plumb first applied Sherwin-Williams’s Extreme Bond Primer on the doors after lightly sanding them and wiping them down. “My biggest tip is to give yourself time—basically 24 hours between each thing at least,” says Plumb. To make the whole process easier on herself, she laid out all the fronts in her garage on a large table and primed everything else as is, installed.
Don’t: Use a Paintbrush

After sanding the doors again once the primer had dried, Plumb proceeded with covering them in the Oakmoss color in a semigloss enamel finish—using an electric handheld sprayer. The one she bought isn’t necessarily fancy (it’s under $200), but she estimates it saved her around 10 hours of work. “It’s much cheaper than hiring someone, and it gives you way better results than a brush,” she says.
Do: Bring the Heat

A high-temperature room helps paint dry faster, so while you want to do the painting part in a cooler space (that way nothing dries too fast), when you are done with your coat, leave it in a dry, warm spot. Plumb went so far as to put a heater in her garage to help speed up the process. “I’m in California, where it’s pretty dry, but for someone [living in] a humid climate, it would take longer,” she warns.
Don’t: Buy One Type of Sandpaper

Sanding in between each coat of primer and paint helps create a slight grit that the next layer can bond to, but after applying the first coat of paint, switch from a tougher sandpaper (around 120 grit) to a finer option that acts more like a polisher (about 800). This way it won’t leave scratch marks.
Do: Frankenstein the Sides for a Bespoke Look
The rest of making an IKEA bookcase look truly built in has to do with all the pieces around it. With her engineering-savvy dad’s help, Plumb added vertical trim in between the shelves to beef them up, plus the base was lifted up on 2-by-4s to accommodate the rest of the space’s thick molding. “It has to be almost sealed to the wall,” she explains. Another custom moment: She left a small gap near the windows so the curtain panels can extend behind it. It’s the little things—spacing, tools, prep work—that count.

