We may earn revenue from the products available on this page and participate in affiliate programs.
Boxes of granola bars, bags of chips, and all sorts of wellness powders can quickly take on a life of their own when they’re left behind closed doors—that is to say, it’s easy for your cabinets to get overstuffed and messy when their insides are out of sight. That’s why it’s important to learn how to organize your kitchen pantry, so you can always find that jar of tomato paste or that package of pasta when you need it.
When messes accumulate, it’s easy to simply let them be—but when you take the time to rearrange things, you can figure out a system that can prevent them from forming in the first place. And especially when you have minimal space to work with—just one or two cabinets, for instance—a little bit of strategy goes a long way. Here, experts share their step-by-step tips on how to organize your kitchen pantry for good.
Step 1: Purge What You Don’t Need

Talk to any professional organizer and they’ll tell you the same thing: You likely have way more than you really need. That might mean you’ve somehow ended up with three cans of baking extract you don’t require because you keep forgetting you already have some, or you’ve accumulated an assortment of protein powders that, let’s be honest, you rarely use. In order to reorganize any space, you have to first sort out the things you don’t intend to keep—so empty out your pantry and assess each item.
Step 2: Unbox Everything

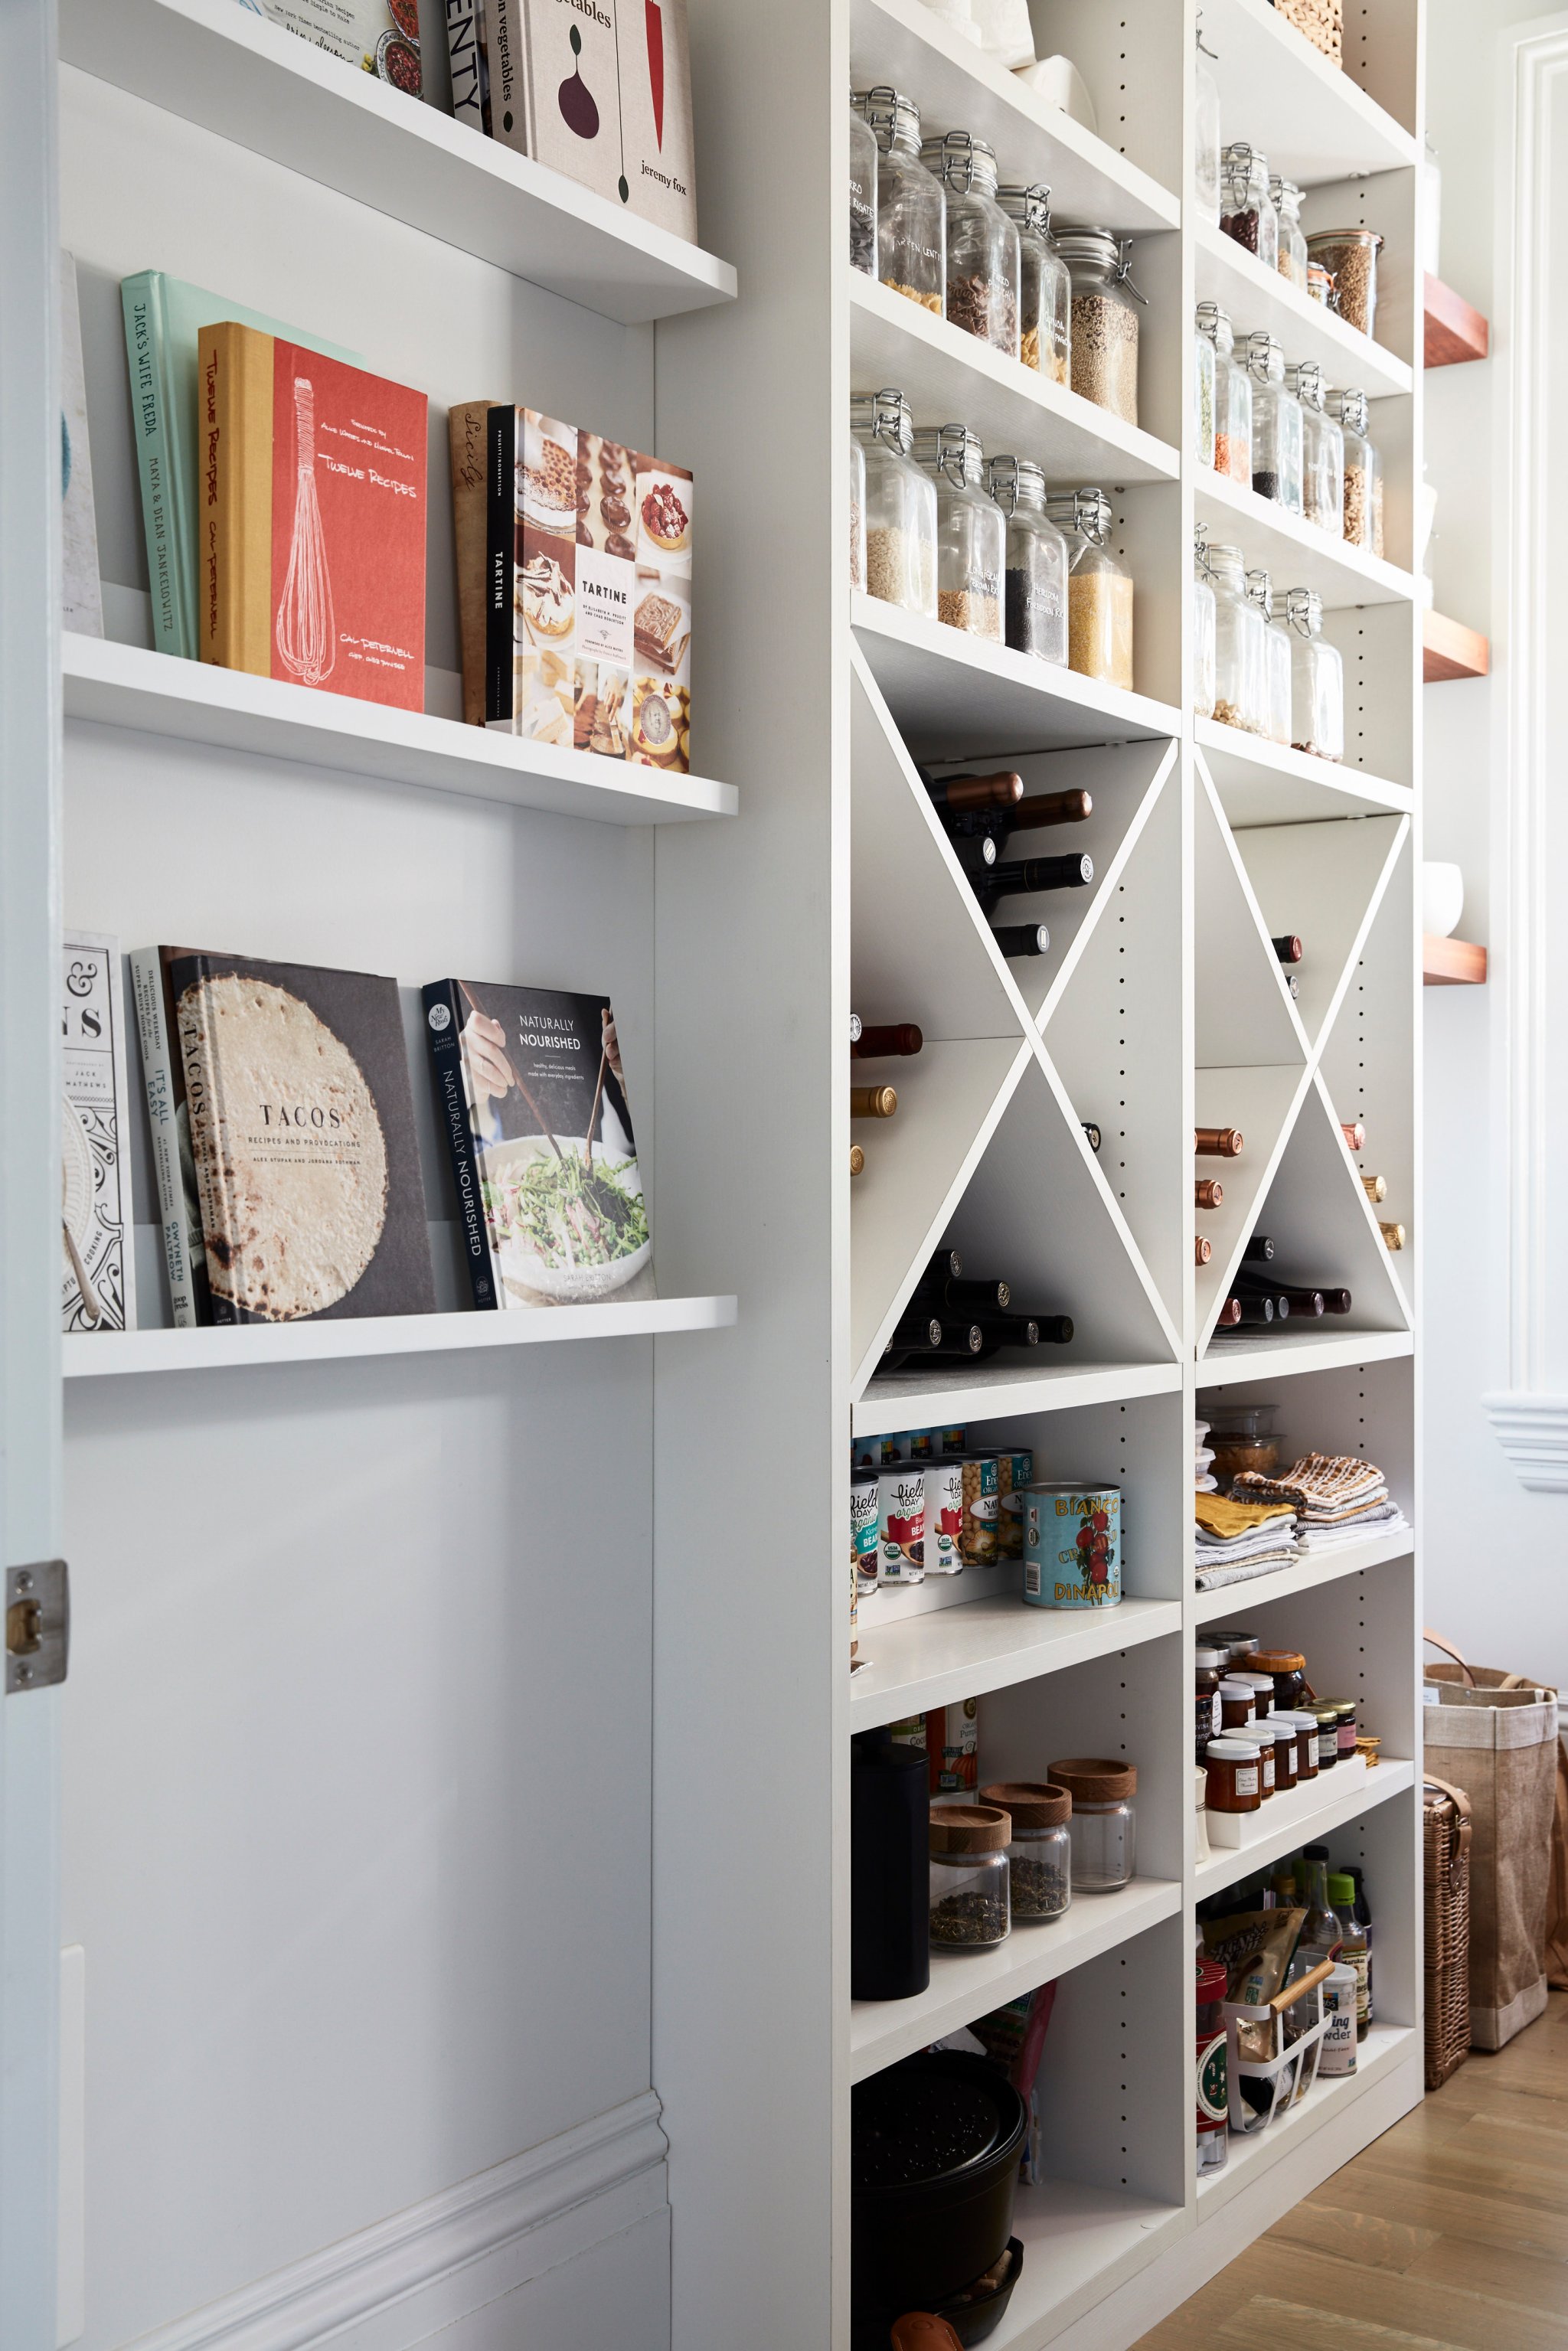
All those photos of pristine pantries filled with clear jars and bins are organized that way for a reason: Taking things out of their original packaging frees up a ton of space. “Say you have a box of peanut butter crackers—it’s bulky, it’s not visually pretty, and you can’t tell how much is in it,” says Nialya Suarez, founder of Organized Simplicity. However, if you pour it out into a see-through container, you can fit the contents of several boxes and know when you need to restock with just a glance.
Step 3: Categorize

After you’ve repackaged as much as you can, it’s time to figure out where to place things. Of course, size is a factor, but generally it’s best to work in zones. These should be personal to your own life: If you have kids, cluster their snacks in one spot and yours in another; keep supplements and vitamins in the same area; put baking supplies in one grouping and dinner essentials in another; and so on. This will help you to find what you’re looking for fast, but if you get a little too specific, it can slow you down. “Keep things relatively broad, and you take out the guesswork,” says Suarez.
Step 4: Incorporate Baskets

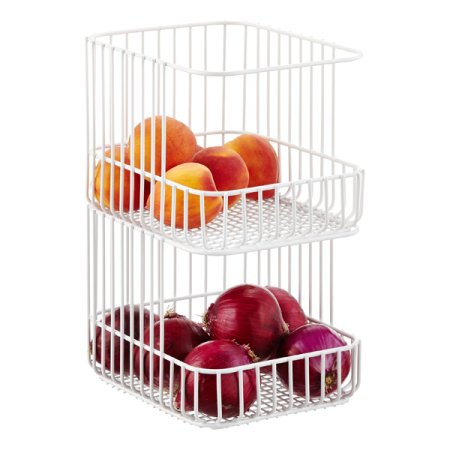
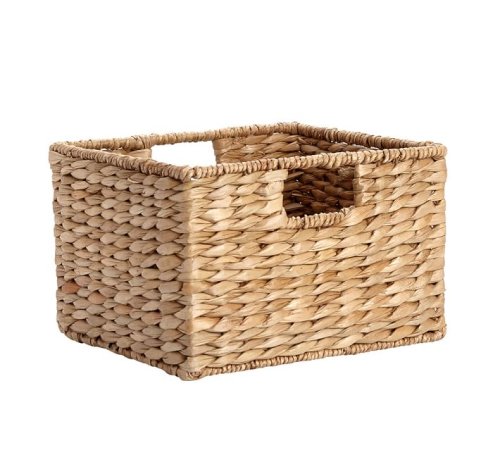
Especially if you have deep shelves, baskets are great for helping you access everything you need, while also keeping your supplies contained. “We try to use materials that match the aesthetic of the house, so that might mean a traditional basket, an acrylic option, or a woven bin,” says Louisa Roberts, owner of Neat Method New York. Use them to hold all the smaller items—cans, jars, etc.—that you haven’t already poured into larger containers.
Step 5: Add in Turntables

And as for those cramped, awkward corners? “Turntables, or lazy Susans, are a game changer for hard-to-reach spaces,” says Jen Robin, founder of Life in Jeneral. “They make it easy to see and access oils, vinegars, and other tall bottles.”
Step 6: Create a Back-Stock Area

Even if you’ve done a massive declutter, by the time your kitchen pantry is newly organized, you might still have some items that didn’t make it in—a half-full bag of cheese crackers, some spare fruit snack pouches, or a bottle of olive oil that you won’t need to open for a few more months. Don’t worry, they get a designated spot of their own in the garage, on the top of the fridge, or wherever you have room for an extra bin for the overflow. “You can consider your back stock your own supermarket,” says Gilat Tunit, founder of Project Neat. “Before you go grocery shopping, check what you have in this area, refill your containers and bins, and then you’ll know what you actually have to buy more of. The more your supplies are visible, the easier it will be to not overspend and overclutter.”
See more stories like this: 7 Kitchen Organization Hacks That Make the Most of the Storage You Have 7 Chefs Share Their Top Kitchen Organization Tips Here’s Exactly How to Organize Your Fully Stocked Fridge


