We may earn revenue from the products available on this page and participate in affiliate programs.
If you’re on the hunt for a productive way to pass your time, might we suggest taking your styling talents to the cupboards? We chatted with four experts to get their tips on how to organize kitchen cabinets once and for all. Crank up your go-to playlist, carve out a few hours, and get ready to channel your best Marie Kondo.
The key to making the process go smoothly is dividing your time into three phases: decluttering, mapping, and styling. The first will help you pare back to the essentials, the second will provide a blueprint for manageable upkeep, and the third is the fun part—pick up a chic new bin or create a color-coordinated shelving moment. Here’s how the pros would approach it.
Decluttering
Step 1: Do the Prepwork
Lifestyle organizer and designer Amy Suddleson breaks the project into two or three time slots so she’s committing designated hours to certain parts of the kitchen—about one and a half to three hours per section. She’ll keep garbage bags (one for donations, and another for actual trash), a laundry basket for the items she wants to move to other parts of the home, and a medley of cleaners on hand to wipe down surfaces as she works. “Starting a job with your supplies makes it easier. I always think, would you show up to SoulCycle without your bike shoes and workout clothing? No!” she says.
Step 2: Make a Mess
Jen Robin starts by taking everything out of drawers and cabinets and clearing off a dining table or countertop so you have space to work. Sort by subcategories: Ann Dooley groups according to location—so everything that came from the uppers, the base cupboards, and the drawers are in their own little islands.
Step 3: Purge, Purge Purge
“Start by asking yourself some clarifying questions to inform the editing process,” suggests Shira Gill. How frequently do you cook? Do you bake, or just like the idea of baking? Have you outgrown certain utensils? Which mugs do you pick each morning for your coffee? Set your priorities, and pare back accordingly.
Step 4: Ditch the Duplicates
Let’s be honest: You probably don’t need five spatulas. Gill recommends picking a number for each everyday essential that makes sense for your actual—not aspirational—life. Her magic number is eight to 10 dinnerware pieces per category. Either donate the rest or put them into storage for use at a later date.
Mapping
Step 1: Set the Scene
Suddleson recommends snapping a couple “before” photos so you can keep track of your progress and remember what you started out with. Then think about how you use the space: Are you right- or left-handed? Which items do you need the most? When you’ve figured out your logistic requirements, do a test-drive with Post-it Notes; Suddleson sticks them as placeholders to make sure everything will flow.
Step 2: Plan Out Every Inch
No matter which layout you eventually choose, keep these two fail-safe guidelines in mind:
- Group by Zone: “There are five zones,” explains Robin. “The consumable zone, the nonconsumable zone, the cleaning zone, the preparation zone, and the cooking zone.” Within those, keep the most frequently used items at arm’s reach for easy access—stick seasonal guest stars (like a Thanksgiving platter or bundt pan) in the very back or top shelf.
- Group by Type: Dooley arranges by material: glassware on one shelf, ceramic on another, and so on. You can also corral similar supplies together. Just be sure to factor in weight: Gill keeps all heavier pieces on lower shelves, whereas lightweight vessels will be safer higher up.
If all else fails, Suddleson swears by the “golden triangle”: a theory that suggests the three main work areas (sink, fridge, and stove) should form a triangle. Map out your space (and move any easily shiftable appliances) accordingly.
Styling
Step 1: Get Rid of Dead Space
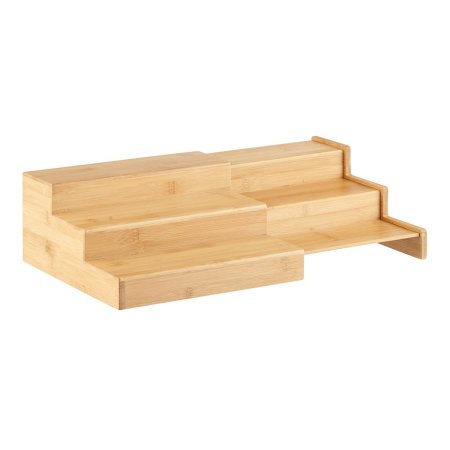
You can make the most of every square inch with a few key tools—even the awkward corners. Robin and Dooley swear by risers for things like spices and plates. “It’s a great way to see everything,” explains Robin (plus, if you have unusually tall cupboards, you’ll maximize all that room). For deep cabinets, Gill loves what she calls a “not-so-lazy Susan”: “Use turntables to corral smaller objects and appliance parts.”
Step 2: Tuck Away Larger Items
Pots, pans, and any baking sheets can all be stored vertically in lower cabinets. Dooley’s go-to is an expandable organizer that fits everything from lids to deeper trays.
Step 3: Design Your Most-Used Dinnerware
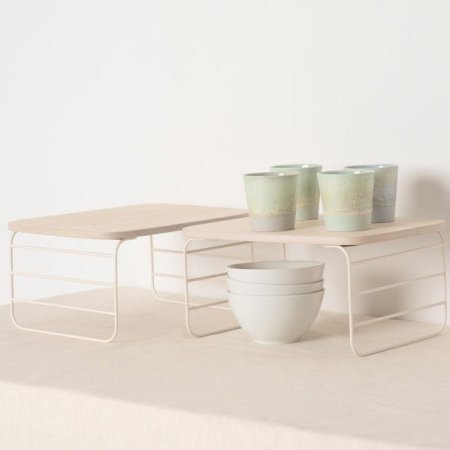
Plate racks are a simple solution to store your prized bowls and platters, especially in any open shelves. “Style them with uniform sets for an aesthetic that’s easy on the eyes,” says Gill. “Think: Collections of matching mugs, glassware, and plates.”
Step 4: Decant Dried Goods
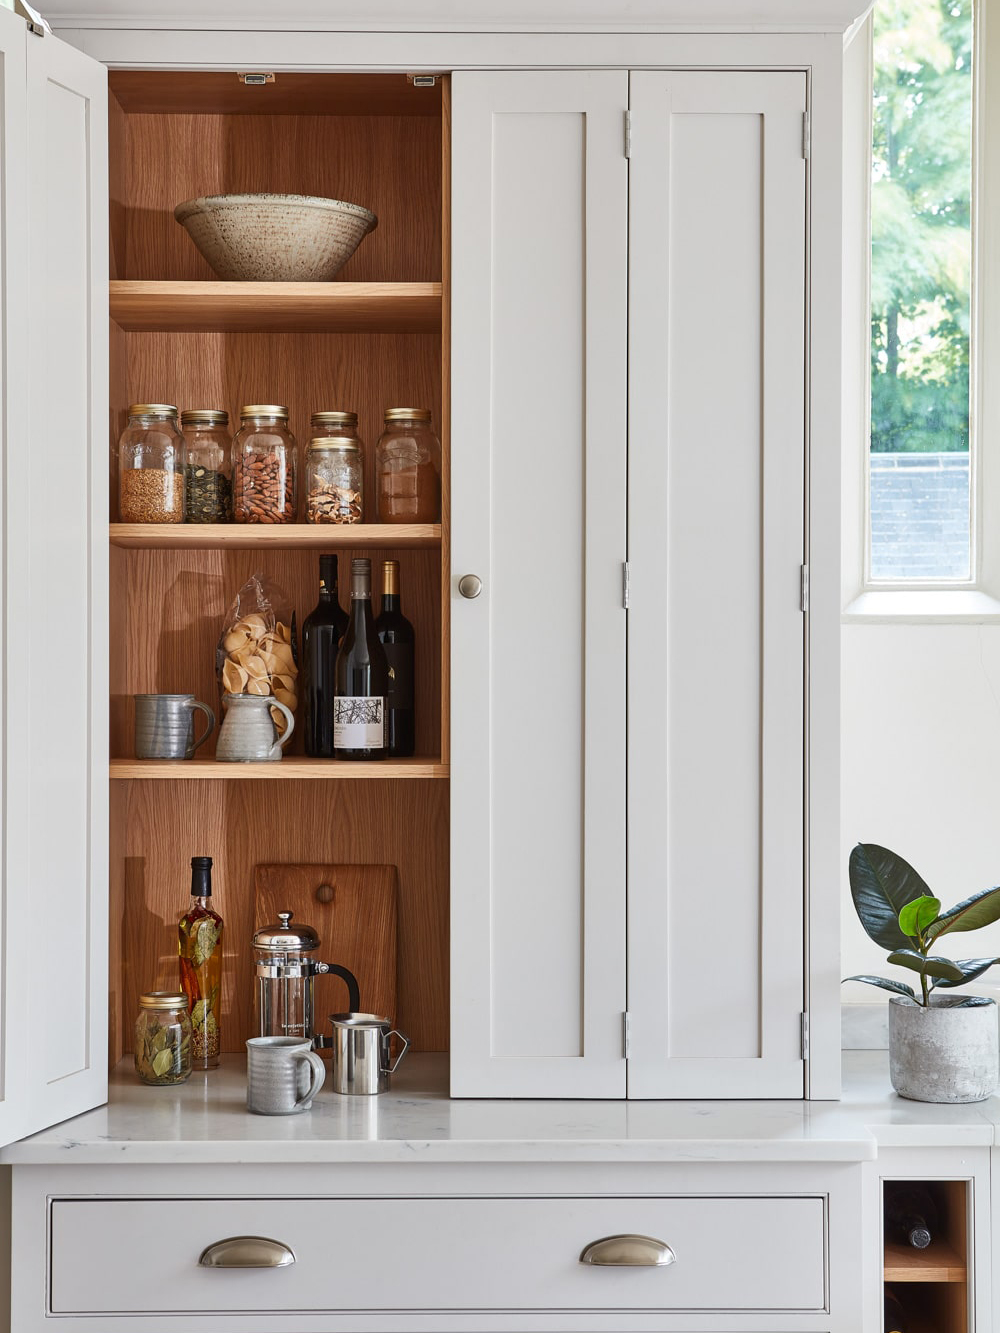
Get rid of excessive boxes (and loud packaging) by pouring everything into sleek uniform containers, says Robin; her pick is an airtight glass jar so you can keep an eye on your pasta stash. You can also free up valuable cupboard real estate by moving some of your most-used staples to the counters: “Keep them in decorative canisters for a quick grab,” adds Suddleson.
Step 5: Make It Pretty
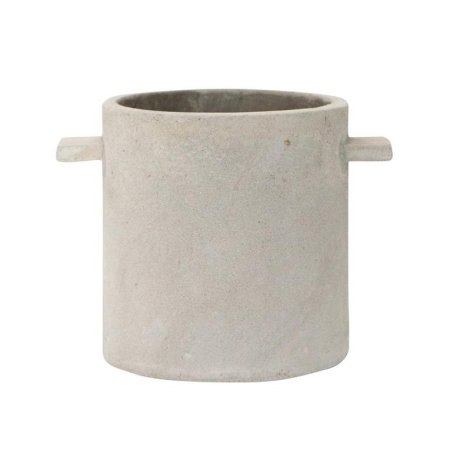
“Get creative elevating your space with thoughtful touches like potted plants, fresh flowers, art, or objects,” says Gill. This is especially practical if you’re embracing the doorless look: Think of it as an opportunity to display those flea market treasures you’ve been trying to find a home for.
See more kitchen organization ideas: How to Finally Organize Your Kitchen Cabinets—For Good This Time 7 Chefs Share Their Top Kitchen Organization Tips Big Impact, Small Budget: 7 Kitchen Upgrades That Make a Difference
