We may earn revenue from the products available on this page and participate in affiliate programs.
Against my former New York City apartment’s exposed brick walls, my Casper oakwood bed frame looked just right. But then in July 2021, I moved, and suddenly the plain surface fell flat. The bedroom in my new Williamsburg spot is a lovely deep blue, but texture there is not. The look of slipcovered or upholstered bed frames from the likes of Leanne Ford and Sascal Studios has always intrigued me, but the $1,700 price tag was never attainable.


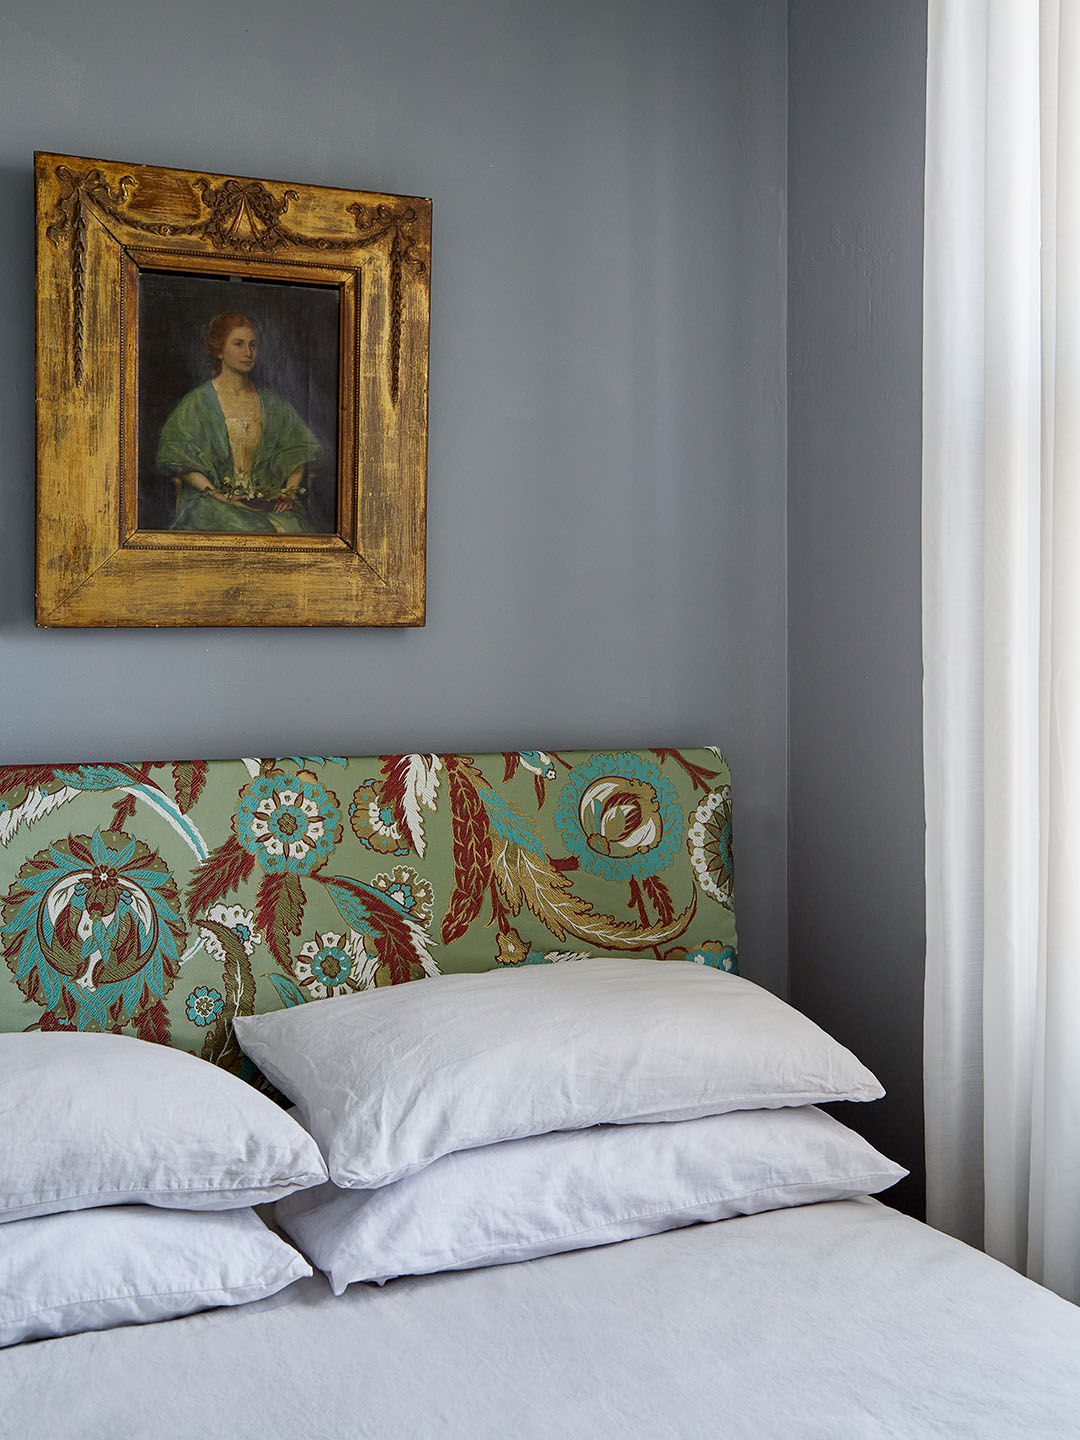
Armed with what my roommates would call too much fabric and my Brother sewing machine, I set out to spice up my lackluster headboard with a Pierre Frey pattern called Tabriz, whose colors perfectly coordinated with the artwork in my room. The best part: The construction only took about 10 minutes—I spent longer trying to thread my needle. Ahead, I re-created the DIY using a Pierre Frey striped fabric to show you just how simple it is.
The Supplies
- Bed frame with headboard
- 2 yards fabric of your choice
- Measuring tape
- Scissors
- Sewing pins
- Sewing machine (or iron-on fabric adhesive)
Step 1: Do the Math

Measure the width of your headboard horizontally and vertically. Add an inch to the horizontal measurement, and use that number as the minimum fabric width. My headboard is approximately 56 inches wide, so I chose a scrap around 58 inches wide to provide enough room for a half-inch seam allowance on each side. (I opted for 2 inches larger rather than 1 because sewing straight lines is not my strong suit.)
With the textile stretched out on a flat surface (the floor is great), measure and trim the bolt to double the vertical height. My headboard’s length is 32 inches, so I trimmed the piece at the 64-inch mark.
Step 2: Bridge the Gap

Once you’ve trimmed your fabric, fold it long-ways with the pattern on the inside (making sure right sides are together). Pin it along the sides, spacing each pin 5 inches apart. If you choose the sewing machine option, use a running stitch and a half-inch seam allowance along each side. For all you no-sew DIYers out there, stick the strips of the heat-bonded hemming tape (you can find some at any craft store or Amazon) in between the layers of fabric, and line it up right to the edge. Heat up your iron according to the directions, run it over the adhesive, and let it cool completely. While sewing the seams is more durable in the long run, this is a quick, low-lift solution.
Step 3: Fit It Like a Glove

Once your sides are secured, flip the slipcover inside out (so it’s now right side out), and slice off any outlying threads or fraying with your scissors. Wiggle it over your headboard and relish in the feeling of a custom bed frame without the high price tag.
