We may earn revenue from the products available on this page and participate in affiliate programs.
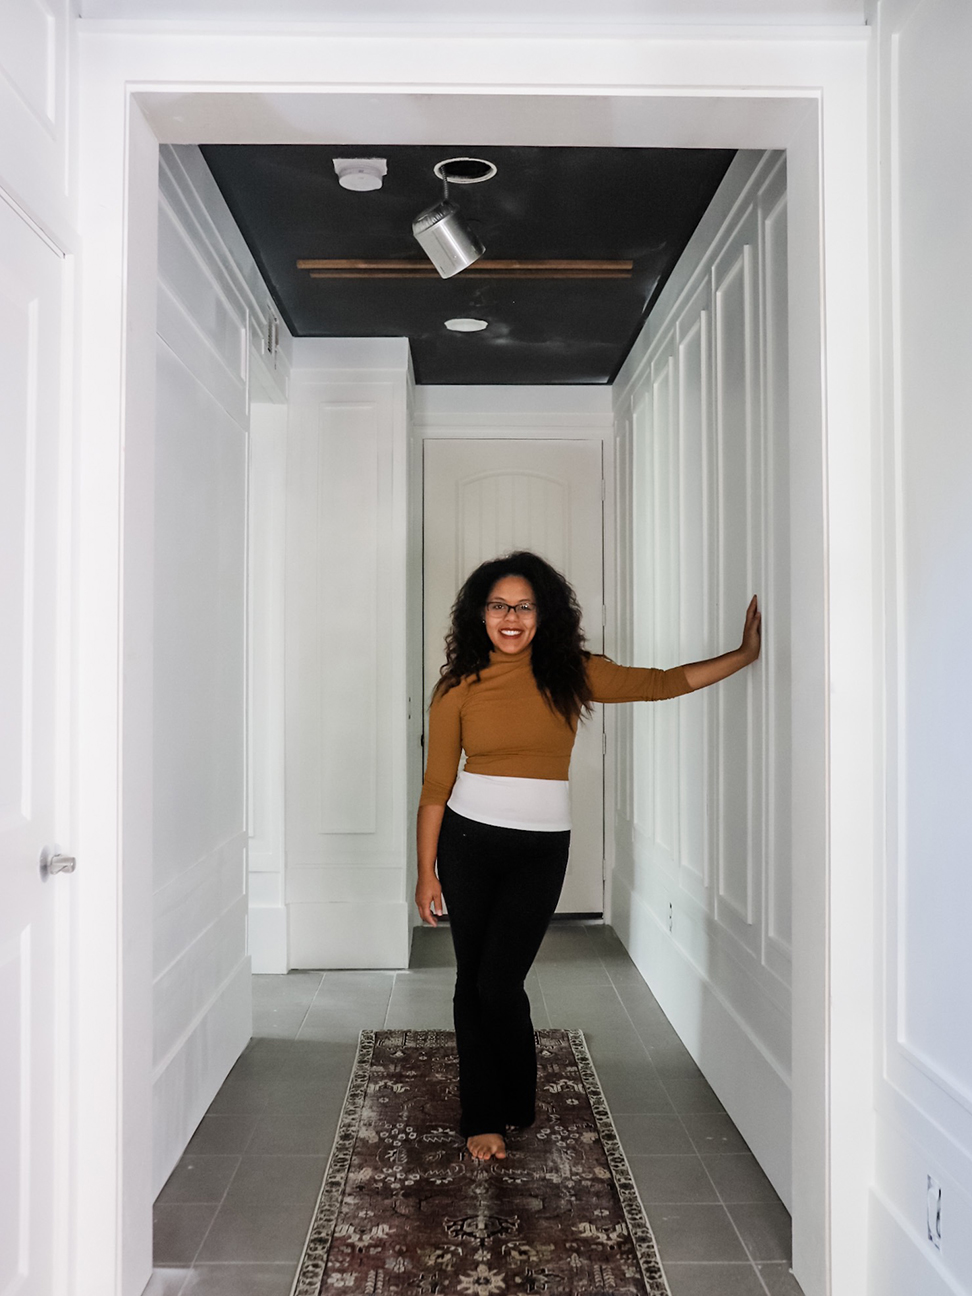
Camille Kurtz never got that welcome home feeling when she walked through her front door. The 12-foot-long entryway in the San Marcos, California, house she and her husband and their two toddler daughters moved into in 2019 was the definition of builder grade. But worse than the blah gray walls and jarring recessed lights was the fact that there were no windows in the hallway (the garage is on one side; a guest bedroom on the other). “Which is why I wanted it to be the first place we tackled,” says Kurtz, who captured every step of the renovation in her blog, The Kurtz Home, as a part of the One Room Challenge. “There was no natural light in there; it was crazy.”
After getting familiar with her new circular saw, Kurtz sought to bring definition to the space by accentuating the baseboards, adding major trim work, and cladding the ceiling in wood, instantly giving it purpose (so the family actually wants to hang out there after taking off their shoes). It only cost her around $2,000 to make 14 (!) changes to the room. Peep her full punch list below, and read on for the five upgrades that had the most visual impact.
The List

- Remove the baseboards
- Paint the ceiling black
- Frame the archways
- Install new baseboards
- Add Hardie board for smooth walls
- Install board and batten
- Add picture box trim
- Spray-paint
- Change the recessed lights to pendants
- Put up mirror and puck light sconces
- Paint and install wood slat ceiling
- Install checkered vinyl tiles
- DIY the faux fresco art
- Style with furniture and decor
The Picture Box Trim

Kurtz used SketchUp to create quick elevations of the new wall paneling, which would be adhered to smooth, brown Hardie board. In addition to creating a colored version of her plans, so she could see exactly how many different types of wood pieces she would need, the DIYe mapped out the design on the walls with blue painter’s tape. “That helped with the math, because then I’d be like: Oh, this needs to come over an inch,” she explains. Before nailing the actual trim (each one had its ends cut at a 45-degree angle) to the wall, Kurtz put a small, 3-inch-tall block in all four corners to draw guidelines for the outer edges of the frames.
The Chunky Baseboards
Bigger is better when it comes to baseboards in a tiny space. Kurtz tore out the old ones and put in a new border that was double the width to give the bottom of the wall some heft. “I had seen rooms with really thick, chunky trim, and it helped the space feel bigger,” she says. Likewise, adding molding around the archways and nailing 1-by-2 pine boards to the ceiling added much-needed architectural character.
The Paint Sprayer

Kurtz knew that bright white paint was the antidote to the sad gray vibes. To achieve the smoothest finish, she invested in a spray gun (it also helps the job go faster—you just have to suit and mask up first). She applied one coat of primer and three coats of Sherwin-Williams’s Highly Reflective White in a satin finish (each session took about an hour and a half, and she set her tool on the 3.5 and the 5 settings for the inside of the corners of all the picture boxes).
The Lighting Conversion

With a little advice from her electrician brother-in-law, Kurtz turned all the recessed LED fixtures into pendant lights. On her supplies list: pointed pliers, wire stripper and cutter, small socket wrench, screwdriver, Phillips-head screwdriver, and ceiling fan support box with a brace kit.
The Patterned Floors

Kurtz put her own spin on classic checkered tile marble floors by cutting square peel-and-stick vinyl tiles into triangles and flipping the design around so they almost look like arrows. ”Most people think it’s real stone,” says Kurtz. “I can candidly say my guests are always impressed.”

