We may earn revenue from the products available on this page and participate in affiliate programs.

When Liz Mundle moved into her boyfriend’s 500-square-foot apartment, the pair was prepared to make some serious storage compromises. The one thing they weren’t willing to budge on? Their books, which had to be easily accessible at all times.
The big blank wall at the bottom of the stairs was the perfect spot to line up their favorite titles. The problems: The floors are uneven and there’s a bulky radiator smack-dab in the middle of two windows, ruling out any storage solutions that stand from the ground up. “As renters without an idea of how long we’ll be in the apartment and no interest in forfeiting our deposit, splurging on custom built-in bookcases wasn’t an option,” says Mundle. The duo also wasn’t keen on the idea of drilling dozens of holes in the wall to hold up a bunch of separate brackets (a spackling nightmare come move-out day). The fix: The Container Store’s Elfa Easy Hang shelves.
Mundle had used different variations of the shelving system in her past two apartments, so she knew they were rental-friendly (the only part mounted to the wall is the very top track) and affordable. Minus the $700 they splurged on the wood boards, the system rang in at $365. “When I did research on custom cabinetry, $3,000 was the bare minimum,” she says. Cue the perfect weekend project! Mundle walks us through the installation steps, below.
The Supplies

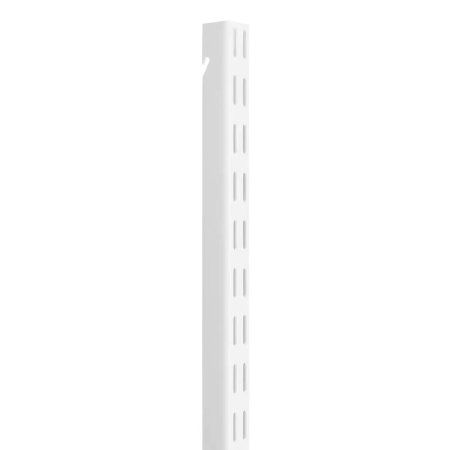
- White Elfa Easy Hang Standards 102” x 6 = $147
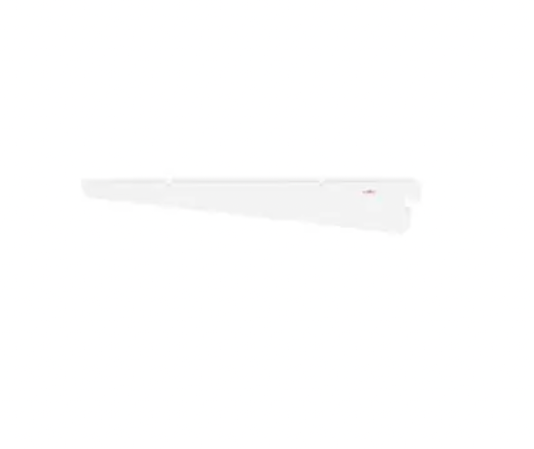
- White Elfa Solid Shelf Brackets 10 ½” x 36 = $152
- White Elfa Solid Shelf Brackets 14 ½” x 6 = $30
- White Elfa Clip Bookends x 5 = $35
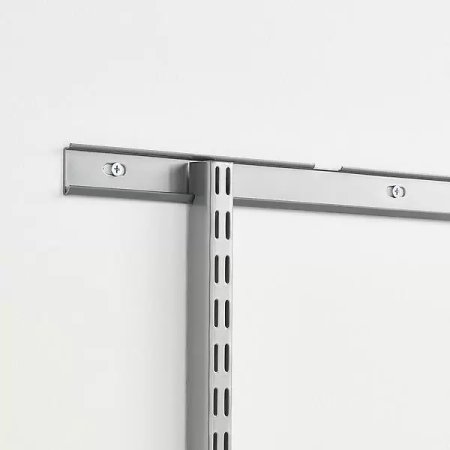
- White Elfa Easy Hang Top Tracks 56″ x 2 = $28
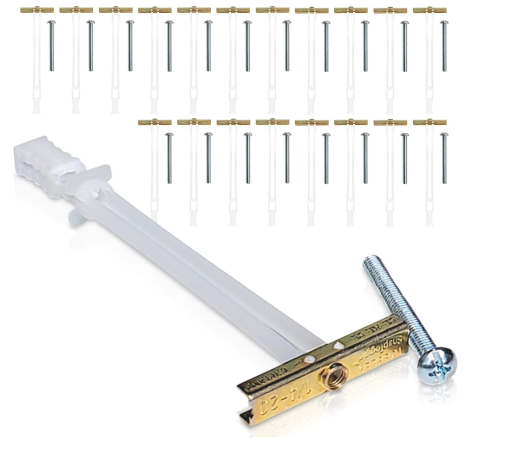
- Toggle anchors = $32
- 12-by-1-inch boards, cut to fit = $700
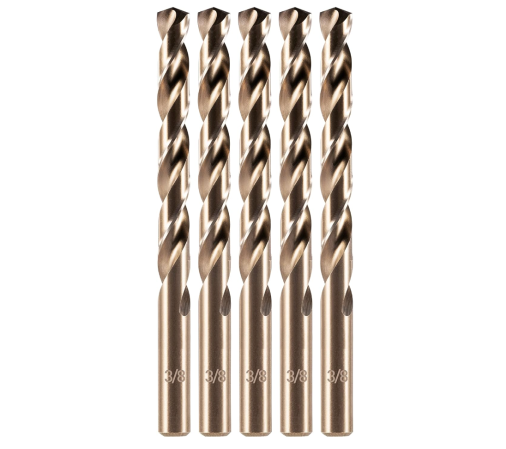
- ⅜-inch drill bit
Step 1: Map It Out

In order to calculate how many brackets she would need, Mundle measured all of the different distances on the wall (ceiling to floor, top of windows to top of ceiling, bottom of windows to floor, and the space in between the windows), jotting each down on a rough sketch of the space. At this point, she also calculated how far apart she wanted the shelves to be from one another: 10 inches between the two top planks, 12 for the middle slabs, and 14 for the lowest shelves. “I wanted to create the illusion that the ceilings are taller than they actually are,” she says.
Step 2: Cut the Shelves
The couple’s construction journey officially started at a lumberyard in Gowanus, Brooklyn. To achieve a streamlined look, they decided to splurge on 1-inch-thick clean pine versus 1/2-inch knotty pine, which was almost half the cost. “My eyes popped out of my head when I saw the quote,” says Mundle. The investment, though, was worth it: They handed off their measurements to the carpenter, waited 40 minutes, and took their freshly cut planks back home in an UberXL.
Step 3: Drill the Holes

The biggest pro of the easy-hang shelves is that there’s minimal wall damage involved (all you need to drill are the holes for the very top track—everything else hangs from that). To do this, you’ll need a ⅜-inch drill bit to ensure the openings will be large enough for the toggle bolts, which anchor for the shelf screws and can support more than 200 pounds of weight. The trick is making sure all the holes are level with one another and spaced out about 6 inches apart. To do this, the pair held up the shelves next to the wall, as flush and straight as possible, and marked the spots with a pencil. Next, they drilled the holes and screwed in the toggle bolts—very carefully. “If one is even a little bit off (like a quarter inch), it’s hard to get the screw in there,” explains Mundle.
Step 4: Install the Shelves


Once the bolts were in, she installed the top track and screwed it in. The vertical attachments that support the brackets are even easier to attach. These pieces hook onto the track at the very end and slide across it. Finally, the brackets that support the wood shelves hook into the attachments.
Step 5: Style Away


Rainbow bookshelves are cute, but Mundle organized her books with function top of mind: Titles that get the least use (like her boyfriend’s law school textbooks) now live at the very top, while prized cookbooks enjoy a spot front and center by the stairs. “I never have to pull up a chair or stool to get them,” she says. After sitting in boxes for a good five months, her favorite reads can now breathe a little easier—and thanks to the shelves, so can the couple.

