We may earn revenue from the products available on this page and participate in affiliate programs.
Even if you have a green thumb, there’s only so much you can do when confined to a postage stamp–size terrace. Or so you might think. Isabelle Palmer, a small-space garden design expert and author of the upcoming book, Modern Container Gardening (on shelves March 3), has made a career of proving naysayers otherwise. In Palmer’s world, you don’t need a sprawling lawn or carefully manicured front porch. All you need is a sliver of balcony space.
Her book is about getting the greenhouse of your dreams with only a few containers. (Herbs, bright florals, and even shrubs all thrive in this situation.) Key to Palmer’s method is zhuzhing up otherwise boring pots, and for this, you’ll need paint.
According to Palmer, it all depends on the material you’re working with. Wood boxes can be transformed with pretty much any form of exterior, while steel containers require a glossy or a metal-specific finish. Terracotta pieces like nontoxic regular or spray paint (pro tip: make sure to work in a well-ventilated area), and concrete or stone options are a good match for either a specialist masonry treatment or another paint made specifically for the outdoors. And let’s not forget a rust-effect finish. (A rust activator speeds up the oxidation process of the metal so you get something that looks vintage for a fraction of the cost.)
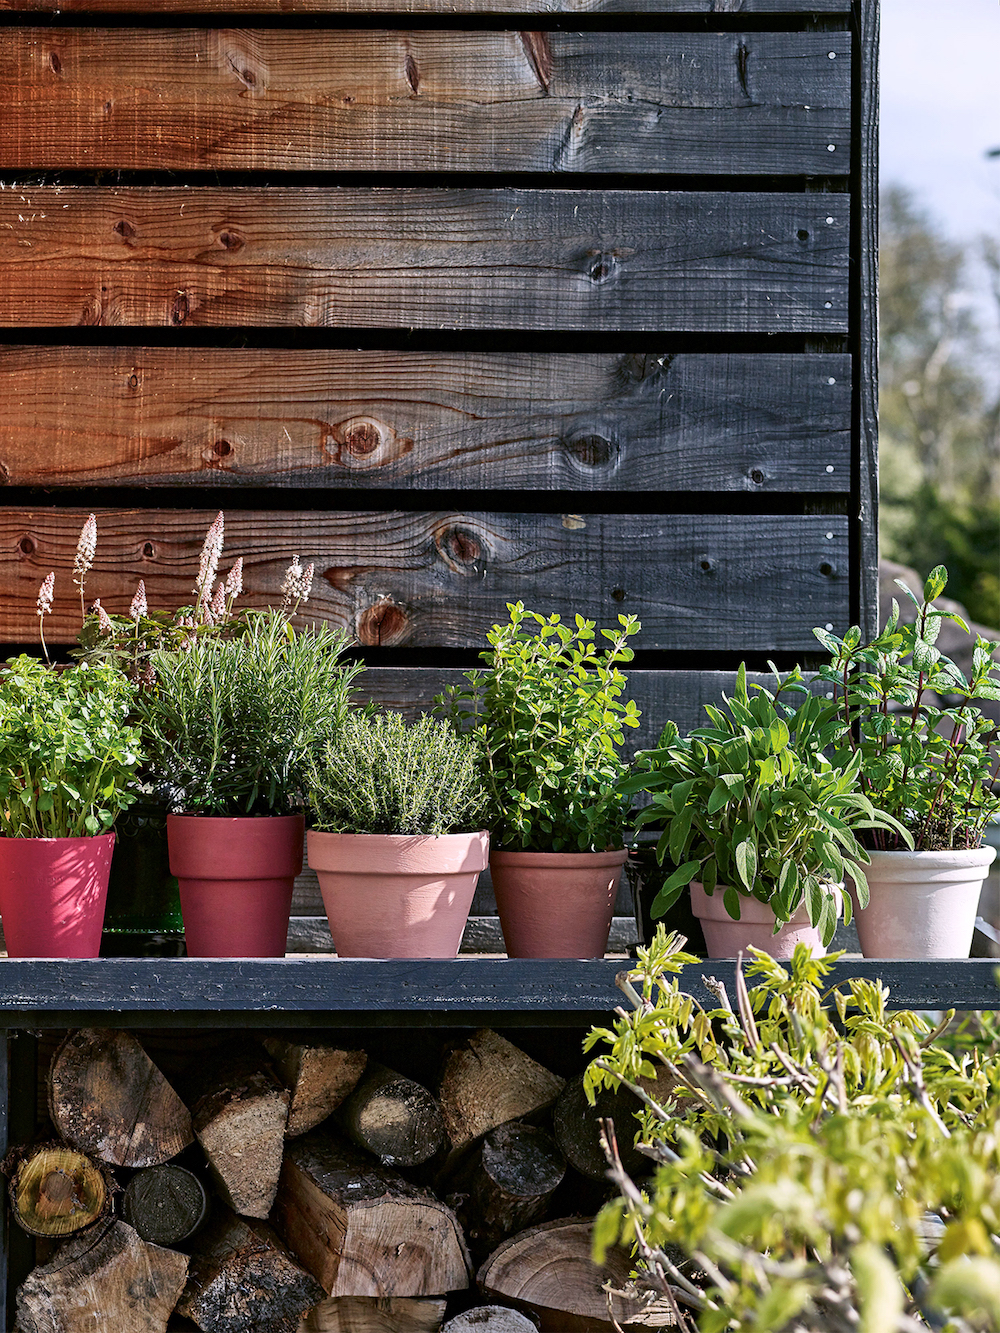
Every page features a new idea for revamping tired planters, but our favorite DIY has to be the ombré herb pots. First of all, everyone—whether you have a balcony or just a windowsill—has room for them. Secondly, they’re just as aesthetically pleasing as any design detail you’d find indoors. We got Palmer to share a sneak peek of the project:
The Supplies:
- 6 small terracotta pots, each in different shapes, about 5 to 6 inches in diameter
- 6 different shades of nontoxic emulsion paint in one color
- 6 tester brushes (one for each shade to speed up painting time)
- Drainage crocks
- Gravel (to improve drainage)
- Potting mix
- Your preferred mix of herbs; Palmer uses mint, Thai basil, marjoram, rosemary, sage, and thyme
Step One: Scrub the Planters
Clean the pots well before painting and planting, especially if you have used old pots, as I have here. Allow to dry thoroughly. [Editors’ note: Page 32 has more intel. For terracotta pots, Palmer suggests using a bristle brush to clean as much dirt off as you can from the inside and outside, soaking it in a solution of water and white vinegar—about 3 to 4 cups of water for every cup of vinegar for about 20 minutes—then popping it in the dishwasher on the quick-wash cycle to totally disinfect.]
Step Two: Break Out the Brushes
Paint each pot a different shade of your chosen color. Give each pot two coats, allowing the first to dry before applying the next. There is no need to paint inside—just the top part, as the rest will be hidden by potting mix.
Step Three: Mix and Match
Before planting, match each herb to the most appropriately sized pot, ensuring the plants will have room to grow.
Step Four: Plan for Watering
Cover the hole in the bottom of each pot with a drainage crock to prevent it from becoming clogged with potting mix. You can also add a few handfuls of gravel to improve the drainage.
Step Five: Load Them Up
Half fill the pots with potting mix and position the first herb in its new pot. Once planted, the surface of the potting mix should be about an inch below the rim of the pot to allow for watering, so adjust the planting depth by adding or removing potting mix as necessary. Fill around the root ball with more mix, and firm it in gently. Repeat for the remaining pots.
Excerpted with permission from Modern Container Gardening by Isabelle Palmer; published by Hardie Grant Books, March 2020.
See more gardening ideas: The Genius Gardening Hack You Need, Courtesy of a $1 IKEA Vase 9 Must-Have Tools for the Chic Gardener How to Rescue Your Plants in Colder Weather
